
Maps
All 56 All Star Tower Defense story maps explained — layouts, hill placements, difficulty tiers and the best farming maps.
Introduction
All Star Tower Defense's Story Mode spans 56 maps based on iconic anime locations, from the easy Namek map to the hardest endgame stages. Each map has its own layout — the enemy path, the number of lanes and whether hill slots are available. Hill placements are a key strategic element: only some maps feature hills, and units placed on them receive bonus damage. Knowing a map's layout before you build your team saves you from bringing the wrong unit types. Maps also differ in difficulty: short-path maps like Namek are easy and fast to farm, while World II maps unlocked at level 100 are much harder. The Beginner Saga spans multiple early stages where ground units are recommended. This guide catalogs the map list, explains layouts and difficulty, and identifies the best maps for farming and progression.
Notable Maps Reference
| Map | Difficulty | Best For |
|---|---|---|
| Namek | Easy | Gem farming |
| Beginner Saga | Easy | Early progression |
| World I Endgame | Medium | Mid-game teams |
| World II Maps | Hard | Endgame challenge |
Map Profiles
Namek
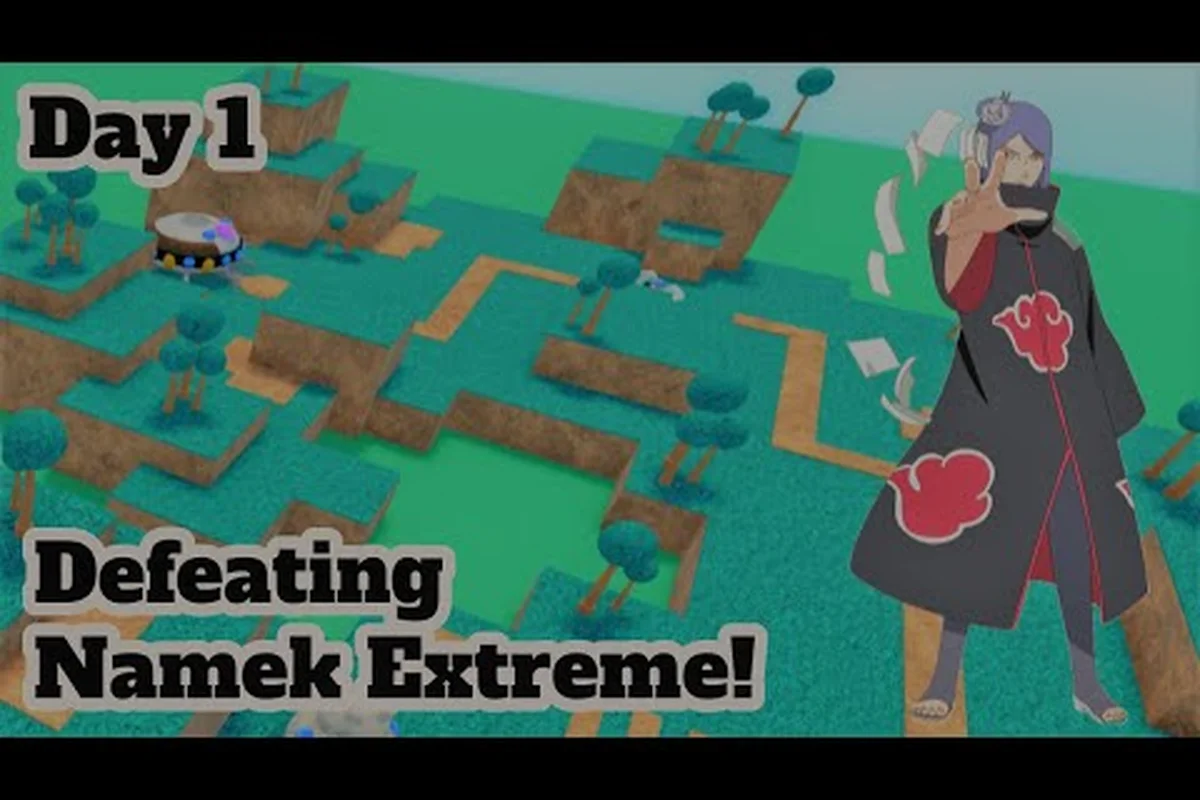
The easiest story map and the best early farming spot
Beginner Saga
Short-path introductory maps where ground units shine
World I Endgame
Mid-game maps that demand balanced teams
World II Maps
Endgame challenge unlocked at level 100
Core Mechanics
Each ASTD map defines a unique enemy path. Short, straight paths let enemies reach your units quickly, which speeds up clear times and makes them efficient for farming. Long, winding paths give your units more time to damage enemies but also slow down repeat clears. Hill slots are elevation points that grant placed units a damage bonus; ground units that cannot use hills should stay on the main path. Not every map has hills, so check the layout before building your team. Difficulty scales through the story — early Beginner Saga maps have weak, slow enemies, while World II maps feature tougher enemies with more HP and faster movement. Map choice also affects farming efficiency: the best farming maps combine short paths with easy enemies so you can repeat them quickly for gems and gold. The 56-map story gives a long progression arc, and knowing each map's quirks is a real competitive edge.
Advantages
A 56-map campaign offers huge variety and a long progression arc. The anime-inspired settings make every map visually distinct and fun to explore. Hill mechanics add strategic depth — maps with hills reward different team builds than flat maps, so the game stays fresh. Easy maps like Namek are excellent farming spots that let you generate gems and gold efficiently. The difficulty curve teaches you the game gradually: Beginner Saga maps introduce mechanics, while World II maps test everything you learned. For a tower defense game, map variety is what keeps hundreds of hours of play interesting. For a tower defense game, map variety is what keeps hundreds of hours of play interesting and rewarding.
Challenges
Map layouts can be frustrating when they do not match your team. Maps without hills make your hill units weaker, and maps with long winding paths slow down farming. The hardest World II maps demand specific team compositions, which can gate progression if you invested in the wrong units. Some maps are far more efficient to farm than others, so players who do not know the meta map list progress slower. With 56 maps, memorizing every layout takes time, and enemy variety means no single team clears everything. Finally, map-specific strategies are only as good as your roster — a great hill strategy fails without hill-worthy units.
Frequently Asked Questions
What is the easiest map in ASTD?+
What are hill slots and why do they matter?+
How do I unlock World II maps?+
What is the best map to farm gems?+
Quick Tips
Check hill availability before building a map team. Maps with hills reward ranged and hill-capable units with bonus damage, while flat maps favor a pure ground lineup — matching your team to the map is free power. Checking a map's hill slots and path length before picking your lineup lets you place the right unit types and farm far more efficiently.
Farm Namek for gems per hour. Short-path easy maps clear fast and repeat often, giving the best gem income for the time invested. Checking a map's hill slots and path length before picking your lineup lets you place the right unit types and farm far more efficiently. Repeating the same quick map for gems per hour beats pushing into harder content you clear slowly, because the reward per minute is what actually grows your account.
Do not rush into World II. The maps are much harder, so max your best units and complete World I farming routes first — entering under-leveled just wastes time and energy. Checking a map's hill slots and path length before picking your lineup lets you place the right unit types and farm far more efficiently.
Learn the enemy path before placing units. A winding path gives your DPS more time to fire, but a short path means you need fast placement and upgrades — adapt your opening to the layout. Checking a map's hill slots and path length before picking your lineup lets you place the right unit types and farm far more efficiently.
Featured
All Star Tower Defense Hill Placement: Top Spots 2026
Master all star tower defense hill placement across World 1 and World 2 maps, with elevated sniper and mage positions that maximize your damage output.

All Star Tower Defense Story Maps: 56 Stage Layouts
Explore all 56 all star tower defense story maps with enemy path breakdowns, hill spots, and the ideal units for each stage, from beginner saga to World 2.

All Star Tower Defense astd best farming map: 2026
This astd best farming map guide ranks all 56 stages by gems per minute, comparing enemy density and path length to pinpoint the fastest grinding route.
All Articles

All Star Tower Defense astd story maps guide: 56 Stages
This astd story maps guide covers every stage from beginner saga to World 2, with per-map placements, raid tactics, and the units that clear them.

All Star Tower Defense Map Unlock: 56 Stages & Star Gates
Unlock every All Star Tower Defense map across all 56 stages, including star gates and saga progression, so you access each battlefield quickly.

All Star Tower Defense astd namek: Paths & Hill Spots
Master the astd namek map with enemy path breakdowns, hill placements for snipers, and unit picks that speed-clear this Dragon Ball stage for farming.

All Star Tower Defense Tournament Map: Weekly Layouts
This all star tower defense tournament map reveals weekly layout shifts, top hill spots, and S-tier units that maximize your score in rotation.